How to Build a Crested Gecko Habitat: The Complete Setup Guide for 2026

Picture this: you’ve just brought home your first crested gecko from a reputable breeder, and now you’re staring at an empty glass terrarium, wondering where to begin. Creating the perfect habitat for these remarkable New Caledonian natives isn’t just about throwing some branches in a tank—it’s about crafting a living ecosystem that will support your gecko’s health and happiness for the next 15-20 years. Learning how to build a crested gecko habitat properly from the start can mean the difference between a thriving pet and costly veterinary bills down the road.
As someone who has spent over a decade working with reptile habitats, I’ve seen countless setups that looked beautiful but failed to meet the basic biological needs of these arboreal creatures. The good news? With the right knowledge and approach, you can create a stunning bioactive environment that not only keeps your crested gecko healthy but also becomes a captivating centerpiece in your home.
Key Takeaways
• Size matters significantly: Adult crested geckos require a minimum of 18″ x 18″ x 24″ enclosures, with larger 24″ x 24″ x 36″ setups being ideal for optimal space utilization
• Vertical orientation is crucial: These arboreal geckos need height more than floor space, with multiple climbing levels and branches arranged at various angles
• Bioactive substrates create healthier environments: A 2-4 inch deep mixture of organic soil, sphagnum moss, springtails, and isopods maintains proper humidity and natural waste processing
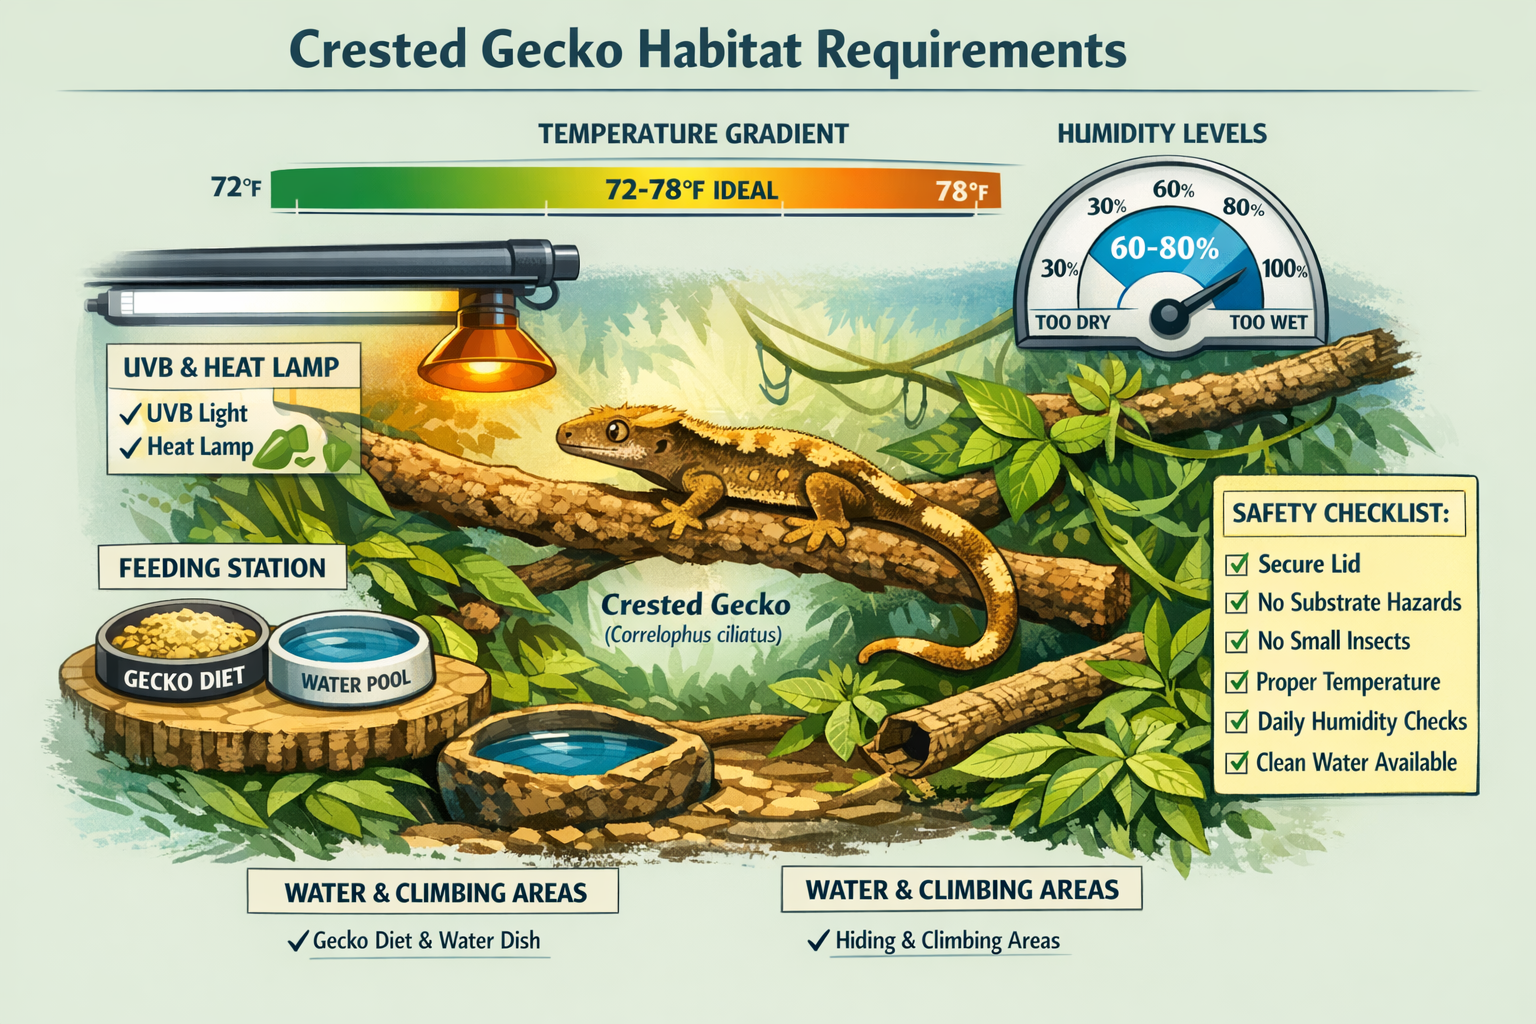
• Temperature and humidity control: Maintain 72-78°F with 60-80% humidity through proper ventilation and daily misting routines
• Live plants enhance the ecosystem: Pothos, bromeliads, and ferns not only improve air quality but also provide natural hiding spots and humidity regulation
Understanding Crested Gecko Natural Habitat Requirements
Before diving into how to build a crested gecko habitat, it’s essential to understand what these fascinating creatures need in the wild. Crested geckos (Correlophus ciliatus) are native to New Caledonia, where they inhabit the humid forests and spend most of their time in trees and shrubs. This arboreal lifestyle directly influences every aspect of their captive habitat requirements.
In their natural environment, crested geckos experience:
- High humidity levels ranging from 60-90%
- Moderate temperatures between 70-80°F
- Dense vegetation providing multiple hiding spots
- Varied climbing surfaces from smooth bark to rough branches
- Natural day/night cycles with minimal direct sunlight
When I work with clients on crested gecko habitat setup, I always emphasize that successful captive environments mirror these natural conditions as closely as possible. This means prioritizing vertical space, maintaining proper humidity, and creating a complex three-dimensional environment that encourages natural behaviors.
The Science Behind Bioactive Habitats
Modern reptile keeping has evolved significantly toward bioactive setups, and for good reason. These living ecosystems use beneficial microorganisms to break down waste naturally, creating a more stable and healthy environment for your gecko. Research shows that bioactive habitats can reduce harmful bacteria levels by up to 90% compared to traditional setups[1].
The key components of a successful bioactive system include:
Substrate Layer System:
- Drainage layer: 1-2 inches of hydro balls or gravel
- Barrier layer: Mesh or landscape fabric
- Substrate layer: 2-4 inches of bioactive soil mix
- Leaf litter: Natural decomposition layer on top
Living Components:
- Springtails: Consume mold and organic waste
- Isopods: Process larger organic matter
- Beneficial bacteria: Break down ammonia and nitrites
- Live plants: Regulate humidity and air quality
Essential Equipment and Materials for Building Your Crested Gecko Habitat
Creating a professional-quality crested gecko habitat requires careful selection of equipment and materials. Having worked with hundreds of setups over the years, I’ve learned that investing in quality components upfront saves both money and stress in the long run.
Enclosure Selection and Sizing
The foundation of any great habitat starts with the right enclosure. For crested geckos, this means prioritizing height over floor space due to their arboreal nature.
Minimum Size Requirements:
- Juveniles (under 6 months): 12″ x 12″ x 18″[3]
- Sub-adults (6-15 months): 18″ x 18″ x 24″
- Adults (15+ months): 18″ x 18″ x 24″ to 24″ x 24″ x 36″[4]
Recommended Enclosure Features:
- Front-opening doors for easy access and maintenance
- Screen ventilation on top and sides for airflow
- Glass construction for humidity retention
- Removable bottom for deep substrate layers
When selecting an enclosure, I always recommend going larger than the minimum requirements. A 24″ x 24″ x 36″ terrarium provides significantly more space for climbing structures and creates a more stable microclimate[4].
Climate Control Equipment
Maintaining proper temperature and humidity is crucial for crested gecko health. Unlike many reptiles, crested geckos don’t require intense heating, but they do need consistent environmental conditions.
Temperature Management:
- Ceramic heat emitters for gentle, non-light producing heat
- Under-tank heaters for substrate warming (optional)
- Digital thermometers with probe sensors
- Thermostats for automated temperature control
Humidity Control:
- Automatic misting systems for consistent humidity
- Hygrometers for accurate humidity monitoring
- Ventilation fans for air circulation
- Water features for passive humidity
Substrate and Hardscape Materials
The substrate layer forms the foundation of your bioactive ecosystem and directly impacts humidity, plant growth, and waste management.
Premium Substrate Mix Recipe:
- 40% organic potting soil (no fertilizers)
- 30% sphagnum moss
- 20% coconut fiber
- 10% orchid bark or perlite
Alternative Budget Options:
- 100% cypress mulch for simple setups
- Paper towels for quarantine or temporary housing
- Coconut fiber alone for moderate bioactivity
Hardscape Elements:
- Cork bark flats for climbing surfaces and hides
- Manzanita branches for durable climbing structures
- Bamboo poles for vertical climbing options
- Natural stones for water features and visual interest
Live Plants for Bioactive Success
Incorporating live plants into your crested gecko habitat provides numerous benefits beyond aesthetics. Plants help regulate humidity, improve air quality, and create natural hiding spots that reduce stress.
Beginner-Friendly Plant Options:
| Plant Species | Light Requirements | Humidity Benefits | Growth Pattern |
|---|---|---|---|
| Pothos | Low to moderate | High transpiration | Trailing vine |
| Bromeliads | Moderate | Water collection | Rosette formation |
| Ferns | Low | High moisture retention | Bushy growth |
| Snake Plant | Low | Moderate transpiration | Upright leaves |
| Philodendron | Low to moderate | High transpiration | Climbing vine |
Plant Placement Strategy:
- Canopy level: Large bromeliads and trailing pothos
- Mid-level: Ferns and smaller bromeliads
- Ground level: Moss and low-growing plants
- Background: Climbing vines on cork bark panels
When sourcing plants, always choose specimens that haven’t been treated with pesticides or fertilizers. I recommend quarantining new plants for 2-3 weeks and thoroughly rinsing the root systems before installation.
Step-by-Step Guide: How to Build a Crested Gecko Habitat from Scratch
Now that we’ve covered the essential components, let’s walk through the complete process of how to build a crested gecko habitat that will provide years of healthy living for your gecko.
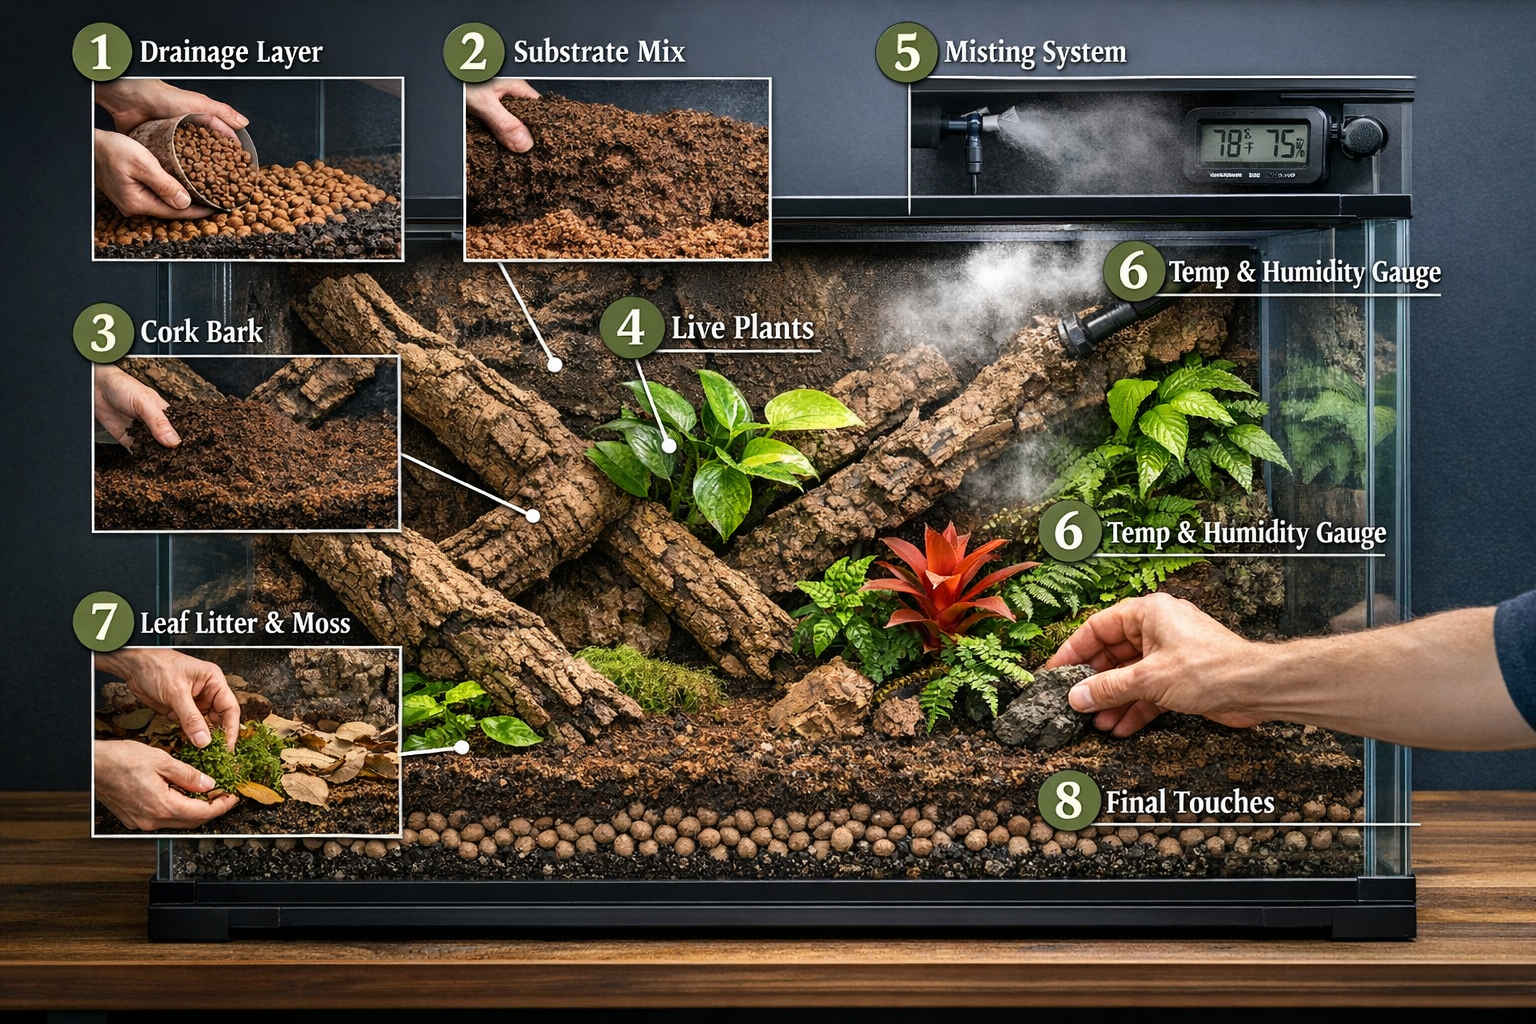
Phase 1: Foundation and Drainage Setup
Step 1: Prepare the Enclosure
Start with a thoroughly cleaned glass terrarium. Remove any residue with reptile-safe cleaners and ensure all ventilation screens are properly installed. Check that doors seal properly and all hardware functions smoothly.
Step 2: Install Drainage Layer
Create a 1-2 inch drainage layer using hydro balls, expanded clay pebbles, or clean gravel. This layer prevents water from pooling in the substrate and creating anaerobic conditions that can lead to harmful bacteria growth.
Step 3: Add Barrier Layer
Place a fine mesh or landscape fabric over the drainage layer. This prevents substrate from filtering down while allowing excess water to drain properly. Ensure the barrier extends slightly up the sides of the enclosure.
Phase 2: Substrate and Bioactive Components
Step 4: Mix and Add Substrate
Prepare your bioactive substrate mixture in a large container, ensuring even distribution of all components. The final mixture should feel slightly moist but not waterlogged. Add 2-4 inches of substrate over the barrier layer, creating gentle slopes for visual interest[4].
Step 5: Introduce Cleanup Crew
Add springtails and isopods to establish your bioactive cleanup crew. I recommend starting with:
- 50-100 springtails per square foot of substrate
- 10-20 isopods for a standard 18×18 base
- Allow 2-3 weeks for populations to establish before adding your gecko
Step 6: Install Hardscape Elements
Position your primary climbing structures, ensuring they’re securely anchored and won’t shift under your gecko’s weight. Create multiple levels and pathways throughout the enclosure:
- Primary climbing branch: Diagonal from bottom corner to opposite top corner
- Secondary branches: Horizontal perches at different heights
- Cork bark panels: Vertical climbing surfaces against back wall
- Hide caves: Secure hiding spots at multiple levels
Phase 3: Plant Installation and Final Setup
Step 7: Plant Installation
Begin with larger plants and work toward smaller specimens. Dig appropriate-sized holes in the substrate and gently place plants, ensuring root systems are well-covered. Water lightly to settle soil around roots.
Plant Placement Tips:
- Background plants: Tall species that won’t obstruct viewing
- Focal points: Attractive bromeliads or flowering plants
- Functional plants: Pothos for coverage and humidity
- Ground cover: Moss and small ferns for substrate coverage
Step 8: Install Climate Control
Mount temperature and humidity monitoring devices in easily visible locations. Install any heating elements according to manufacturer instructions, ensuring they’re connected to appropriate thermostats.
Position misting nozzles to provide even coverage without directly spraying electrical components. Test all systems before introducing your gecko to ensure proper function.
Phase 4: Final Details and Cycling
Step 9: Add Finishing Touches
Distribute leaf litter across the substrate surface to provide natural foraging opportunities and additional hiding spots. Add any final decorative elements like natural stones or additional small branches.
Create a feeding station using a small elevated platform or magnetic feeding ledge. This makes it easier to monitor food consumption and maintain cleanliness.
Step 10: Cycle the Habitat
Allow your completed habitat to cycle for 2-3 weeks before introducing your gecko. During this period:
- Monitor temperature and humidity daily
- Adjust misting schedules as needed
- Allow beneficial bacteria to establish
- Observe plant growth and make adjustments
- Test all equipment functionality
Advanced Habitat Features and Customization Options
Once you’ve mastered the basics of how to build a crested gecko habitat, you can explore advanced features that enhance both functionality and visual appeal. These upgrades can transform a basic setup into a stunning display that rivals professional zoo exhibits.
Automated Environmental Controls
Modern technology offers numerous options for automating habitat maintenance, reducing daily workload while ensuring consistent environmental conditions.
Smart Misting Systems:
Advanced misting controllers can adjust spray duration and frequency based on real-time humidity readings. These systems often include:
- Multiple zone control for different habitat areas
- Smartphone app integration for remote monitoring
- Data logging for tracking environmental trends
- Integration with lighting systems for natural cycles
Programmable Lighting:
LED lighting systems designed for planted terrariums can simulate natural day/night cycles while promoting healthy plant growth. Look for fixtures offering:
- Full spectrum lighting including UVA/UVB
- Programmable sunrise/sunset effects
- Separate controls for plant growth and viewing lights
- Timer integration with other habitat systems
Water Features and Humidity Management
Adding water features creates visual interest while providing additional humidity control and drinking opportunities for your gecko.
Waterfall Systems:
Small recirculating waterfalls can be integrated into cork bark backgrounds, providing the sound and movement of flowing water. Ensure any water feature includes:
- Proper filtration to prevent bacterial growth
- Easy access for cleaning and maintenance
- Safe electrical connections with GFCI protection
- Appropriate water treatment to remove chlorine and chloramines
Fog Systems:
Ultrasonic foggers can create dramatic visual effects while boosting humidity during specific periods. These work particularly well when combined with air circulation systems to prevent stagnant air pockets.
Specialized Substrate Zones
Creating distinct microhabitats within your enclosure allows for more diverse plant communities and provides your gecko with varied environmental experiences.
Bog Areas:
Sections with higher moisture content support different plant species and create natural drinking areas. These zones require:
- Slightly depressed substrate areas
- Plants adapted to wet conditions
- Careful monitoring to prevent anaerobic conditions
- Strategic placement away from main basking areas
Dry Zones:
Elevated areas with improved drainage provide variety and support plants requiring less moisture. These areas often feature:
- Additional drainage materials
- Succulent plants or air plants
- Primary basking locations
- Easy access to climbing structures
Maintenance and Long-term Habitat Health
Understanding how to build a crested gecko habitat extends beyond initial setup to encompass long-term maintenance strategies that keep your ecosystem thriving for years to come.
Daily and Weekly Maintenance Routines
Successful bioactive habitats require consistent but minimal maintenance when properly established. Developing good routines prevents small issues from becoming major problems.
Daily Tasks (5-10 minutes):
- Visual inspection of your gecko’s health and behavior
- Check temperature and humidity readings
- Remove any uneaten food after 24 hours
- Spot-clean any visible waste (though cleanup crews should handle most)
- Observe plant health and growth patterns
Weekly Tasks (15-30 minutes):
- Deep clean water features and replace water
- Trim overgrown plants to maintain sight lines
- Check and clean misting nozzles for proper function
- Monitor cleanup crew populations and add supplements if needed
- Test all electrical equipment for proper operation
Seasonal Adjustments and Environmental Cycling
Crested geckos benefit from subtle seasonal variations that can trigger natural behaviors and promote overall health. These changes should be gradual and minor compared to temperate species requirements.
Winter Adjustments (December-February):
- Slightly reduce nighttime temperatures by 2-3°F
- Decrease misting frequency slightly to simulate drier season
- Reduce photoperiod by 1-2 hours
- Monitor gecko activity levels and adjust feeding accordingly
Summer Adjustments (June-August):
- Increase humidity levels slightly during peak summer months
- Extend photoperiod for maximum plant growth
- Monitor for overheating and increase ventilation if needed
- Take advantage of increased plant growth for habitat expansion
Troubleshooting Common Issues
Even well-designed habitats can develop problems over time. Recognizing and addressing these issues quickly prevents more serious complications.
Mold and Fungal Growth:
Occasional mold growth is normal in bioactive setups, but excessive growth indicates imbalanced conditions:
- Causes: Poor ventilation, overwatering, insufficient cleanup crew
- Solutions: Increase air circulation, reduce misting frequency, add more springtails
- Prevention: Maintain proper ventilation and avoid overfeeding
Plant Decline:
Healthy plants are crucial for bioactive success, so addressing plant problems quickly is essential:
- Symptoms: Yellowing leaves, stunted growth, leaf drop
- Common causes: Insufficient lighting, poor drainage, nutrient deficiency
- Solutions: Adjust lighting duration/intensity, improve drainage, add organic fertilizers
Humidity Fluctuations:
Inconsistent humidity can stress both plants and your gecko:
- Monitoring: Use digital hygrometers with data logging capabilities
- Adjustments: Modify misting schedules, adjust ventilation, add/remove water features
- Stability: Larger enclosures with more thermal mass maintain more stable conditions
Expanding and Upgrading Your Setup
As your experience grows and your gecko matures, you may want to expand or upgrade your habitat. Planning these improvements ensures minimal disruption to your established ecosystem.
Enclosure Upgrades:
Moving to a larger enclosure requires careful planning to preserve your bioactive ecosystem:
- Set up the new enclosure completely before transfer
- Transfer substrate and cleanup crews to maintain biological balance
- Relocate plants carefully to minimize root damage
- Allow 1-2 weeks for re-establishment before moving your gecko
Technology Integration:
Modern habitat monitoring can provide valuable insights into your setup’s performance:
- Environmental sensors: Track temperature, humidity, and air quality over time
- Automated feeding: Programmable feeding systems for consistent nutrition
- Camera systems: Monitor gecko behavior and health remotely
- Data analysis: Use collected data to optimize environmental conditions
The investment in learning how to build a crested gecko habitat properly pays dividends in the form of a healthy, active pet and a stunning living display. Whether you’re purchasing your first gecko from a crested gecko breeder or upgrading an existing setup, the principles outlined in this guide will serve you well for years to come.
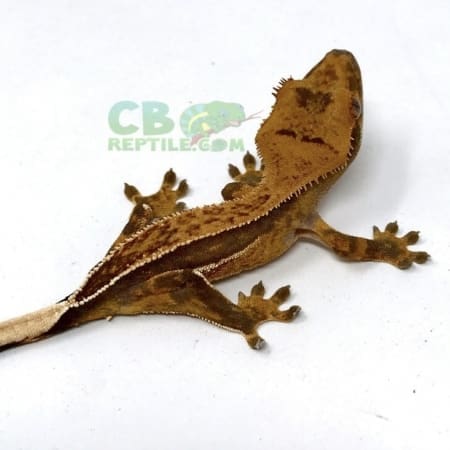
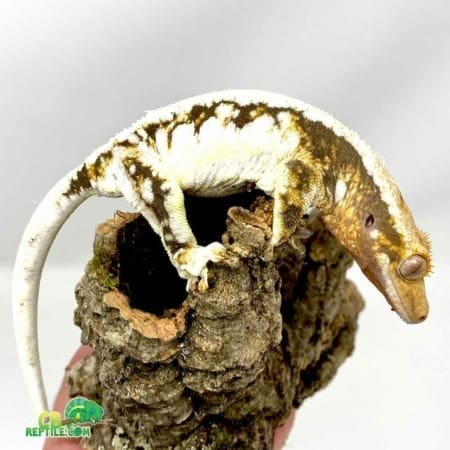
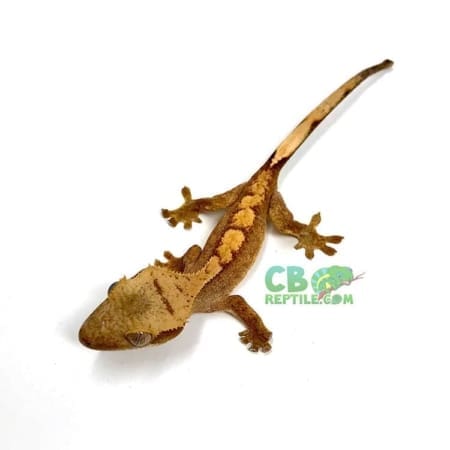
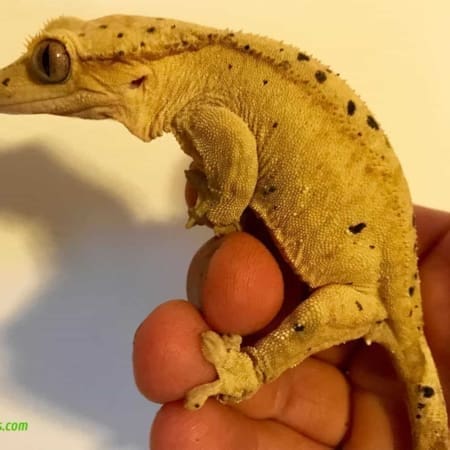
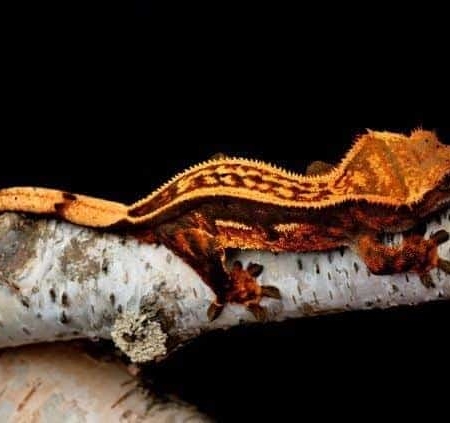
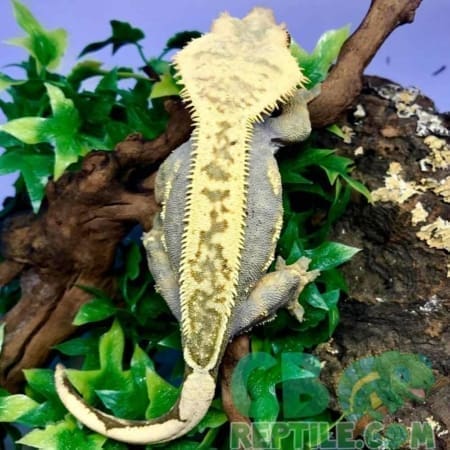
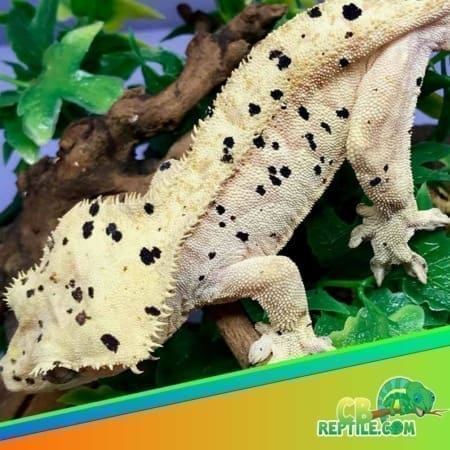
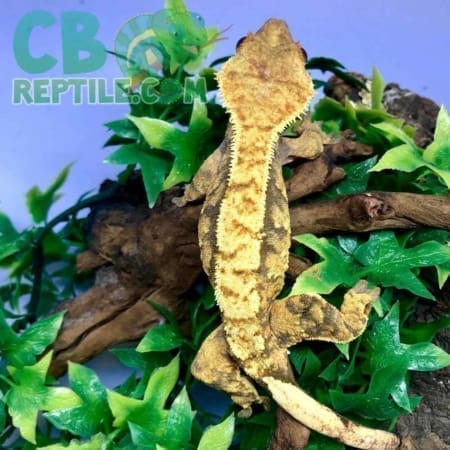
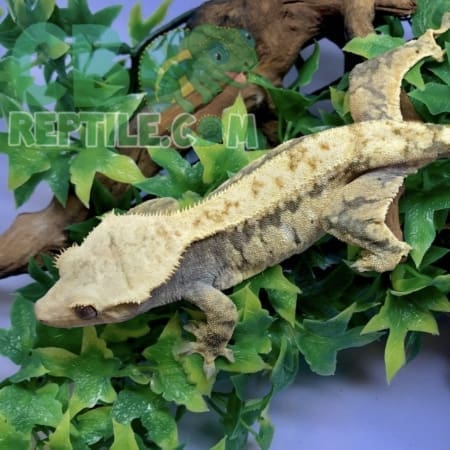
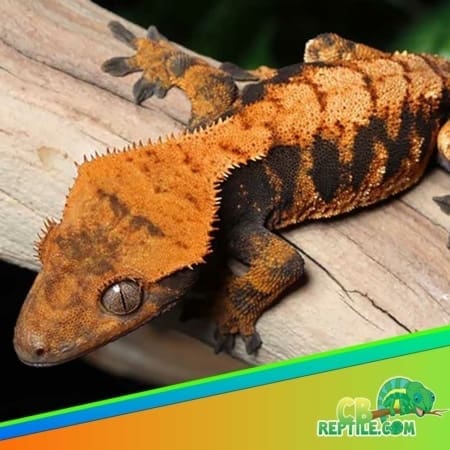
For those interested in exploring different crested gecko morphs and their specific care requirements, remember that habitat needs remain consistent across all color variations. A well-designed bioactive setup will showcase the natural beauty of any morph while providing optimal living conditions.
- Display 36 Products per page
Feeding and Nutrition Integration in Your Habitat Design
When considering how to build a crested gecko habitat, nutrition planning should influence your design decisions from the beginning. Proper feeding station placement and food storage considerations can make the difference between a thriving gecko and one that struggles with nutrition-related health issues.
Strategic Feeding Station Placement
Creating dedicated feeding areas within your habitat serves multiple purposes: it makes monitoring food consumption easier, reduces waste contamination of the substrate, and establishes routine feeding behaviors that reduce stress.
Optimal Feeding Station Features:
- Elevated platforms: Magnetic or suction-cup ledges positioned 12-18 inches from the substrate
- Easy access: Located near primary climbing routes but away from hiding areas
- Stable mounting: Secure enough to support your gecko’s weight during feeding
- Easy cleaning: Removable components for thorough sanitization
Multiple Station Strategy:
For larger enclosures (24″ x 24″ x 36″ or bigger), I recommend installing 2-3 feeding stations at different heights and locations. This approach:
- Reduces competition in multi-gecko setups
- Provides backup options if one station becomes contaminated
- Encourages natural foraging behaviors
- Makes food more accessible as your gecko ages
Integrating Natural Foraging Opportunities
Wild crested geckos spend significant time searching for food, and replicating this behavior in captivity promotes physical activity and mental stimulation.
Foraging Enhancement Techniques:
- Scattered feeding: Occasionally place food in different locations throughout the habitat
- Hidden treats: Use cork bark crevices to hide small amounts of food
- Seasonal fruits: Offer appropriate fresh fruits in natural feeding locations
- Live feeding: Supervised cricket releases for hunting practice (ensure proper gut-loading)
Food Safety Considerations:
When implementing foraging opportunities, always prioritize safety:
- Remove uneaten food within 24 hours to prevent spoilage
- Avoid placing food directly on substrate where it can contaminate the bioactive system
- Use feeding tongs to place food in elevated locations safely
- Monitor your gecko’s weight to ensure adequate nutrition despite scattered feeding
For detailed information about optimal nutrition, consult our comprehensive crested gecko diet guide which covers everything from commercial diet selection to supplementation schedules.
Temperature Management and Thermal Gradients
Understanding how to build a crested gecko habitat with proper thermal management is crucial for your pet’s long-term health. Unlike many reptile species, crested geckos require relatively moderate temperatures, but creating subtle gradients within the enclosure allows them to thermoregulate naturally.
Creating Effective Temperature Zones
Optimal Temperature Ranges:
- Basking zone: 78-80°F (warmest area of enclosure)
- Ambient zone: 72-76°F (general living area)
- Cool zone: 70-72°F (nighttime retreat area)
- Nighttime drop: 65-70°F (promotes natural behavior patterns)
Heat Source Selection and Placement:
The type and placement of heating elements significantly impacts both temperature distribution and your gecko’s behavior patterns.
Ceramic Heat Emitters (CHE):
- Advantages: No light emission, long lifespan, even heat distribution
- Placement: Mounted above one corner of the enclosure
- Control: Always use with a thermostat to prevent overheating
- Coverage: Should heat approximately 1/3 of the enclosure area
Under-Tank Heaters (UTH):
- Limited use: Only recommended for substrate warming in larger enclosures
- Placement: Under one corner of the enclosure, never exceeding 1/4 of the floor space
- Safety: Must be controlled with a thermostat and protected by a barrier
- Monitoring: Substrate surface should never exceed 80°F
Monitoring and Maintaining Temperature Stability
Digital Thermometer Placement:
Accurate temperature monitoring requires multiple measurement points throughout your habitat:
- Basking area: Positioned at the height where your gecko typically basks
- Cool area: Located in the opposite corner from heat sources
- Substrate level: One probe at ground level for substrate temperature monitoring
- Ambient air: Mid-level measurement for general air temperature
Seasonal Temperature Adjustments:
Subtle seasonal variations can promote natural behaviors and breeding readiness in mature geckos:
| Season | Day Temp | Night Temp | Duration | Benefits |
|---|---|---|---|---|
| Spring | 75-78°F | 68-70°F | March-May | Increased activity, breeding preparation |
| Summer | 76-80°F | 70-72°F | June-August | Peak activity, optimal growth |
| Fall | 74-77°F | 67-69°F | September-November | Natural cycling, reduced activity |
| Winter | 72-75°F | 65-68°F | December-February | Rest period, reduced feeding |
For more detailed information about optimal temperature management, visit our specialized guide on crested gecko temperature requirements.
💰 Estimated Cost Breakdown
Conclusion
Learning how to build a crested gecko habitat is one of the most rewarding aspects of reptile keeping, combining scientific knowledge with creative design to create a thriving ecosystem. Throughout this comprehensive guide, we’ve covered everything from basic enclosure selection to advanced bioactive systems that can support your gecko’s health and happiness for their entire 15-20 year lifespan.
The key to success lies in understanding that crested geckos are arboreal creatures with specific environmental needs. By prioritizing vertical space, maintaining proper humidity levels of 60-80%, and creating complex climbing structures with natural materials like cork bark and live plants, you’re providing an environment that encourages natural behaviors and reduces stress.
Remember that building a quality habitat is an investment in your pet’s long-term health. While basic setups can work temporarily, bioactive environments with proper substrate depth (2-4 inches), cleanup crews of springtails and isopods, and carefully selected live plants create more stable conditions that benefit both you and your gecko.
Your Next Steps:
- Assess your space and budget using our interactive calculator above to determine the optimal setup for your situation
- Source your gecko from a reputable breeder – consider browsing our selection of crested geckos for sale from CB Reptile, the #1 crested gecko breeder in the USA for over a decade
- Gather your materials systematically, starting with the enclosure and working through substrate, hardscape, and plants
- Allow proper cycling time of 2-3 weeks before introducing your gecko to ensure biological systems are established
- Develop consistent maintenance routines to keep your habitat thriving long-term
Whether you’re interested in a stunning harlequin crested gecko or exploring other crested gecko morphs, the habitat principles remain the same. A well-designed environment will showcase your gecko’s natural beauty while providing the foundation for a healthy, active pet.
For those searching for “crested gecko near me,” remember that proper habitat preparation is just as important as finding quality animals. CB Reptile combines decades of breeding expertise with comprehensive care support, ensuring you have both exceptional geckos and the knowledge to care for them properly.
The time and effort you invest in learning how to build a crested gecko habitat correctly will pay dividends in the form of a stunning living display and a thriving pet that brings joy for years to come. Start with quality components, be patient during the establishment phase, and don’t hesitate to upgrade your setup as your experience and confidence grow.